Microgreens are incredibly easy to grow, and they can provide a nutritious addition to any meal. Once you have your supplies, simply sow the seeds thinly in the soil and water them regularly. In just a few weeks, you’ll have a crop of healthy microgreens to harvest. And because they’re so easy to grow, you can experiment with different kinds of microgreens until you find the ones that you like best. So why not give them a try? You might be surprised at how rewarding gardening can be.
If you’re new to growing microgreens, here’s everything you need to know to get started.
What Are Microgreens?
Microgreens are a type of leafy green vegetable that is harvested when the plant is young, typically 7-14 days after germination. The term “microgreen” can refer to a range of greens, including arugula, beet greens, cabbage, and radish. Microgreens are often used as a garnish, but they can also be added to salads, soups, and breakfast sandwiches for a pop of color and flavor. In addition to their culinary uses, microgreens are also a source of vitamins and minerals. Regardless of how you choose to use them, microgreens are a delicious and nutritious way to add some extra flavor and color to your plate.
What are some popular microgreens?
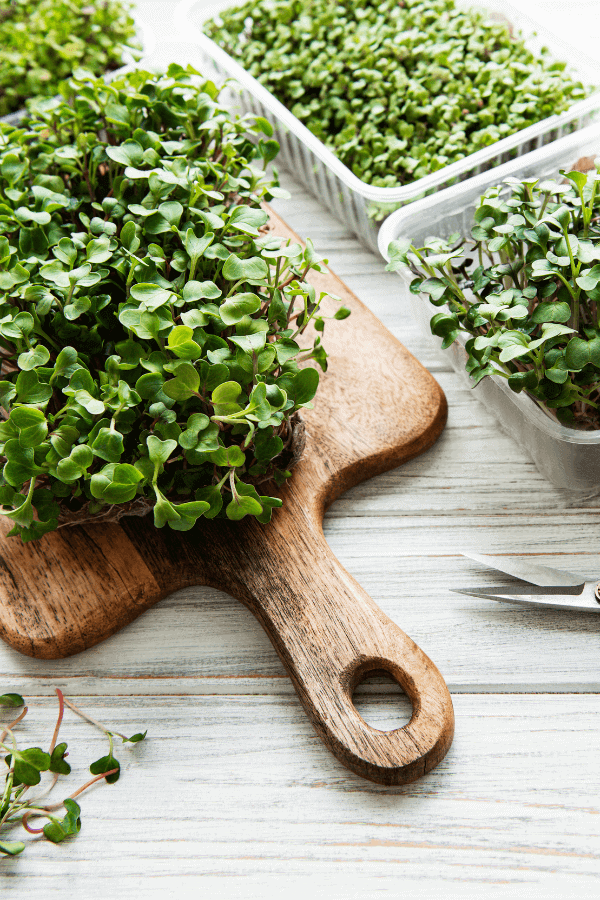
Some of the best microgreens include arugula, basil, beets, broccoli, cabbage, chard, chickpeas, collard greens, kale, kohlrabi, and land cress, lentils, mung beans, mustards, and radishes. Each of these plants has its own unique flavor and texture, so it’s worth experimenting until you find the ones that you like best.
Benefits of Microgreens
Microgreens are packed with vitamins, minerals, and antioxidants, and have been shown to provide numerous health benefits. Studies have shown that microgreens can help to improve heart health, regulate blood sugar levels, boost immunity, and even protect against some forms of cancer. In addition, microgreens are a low-calorie food that is rich in fiber, making them an excellent choice for those looking to lose weight or maintain a healthy weight. With so many potential benefits, it’s no wonder that microgreens are gaining popularity among health-conscious individuals.
Essential Equipment in Growing Microgreens
Seeds
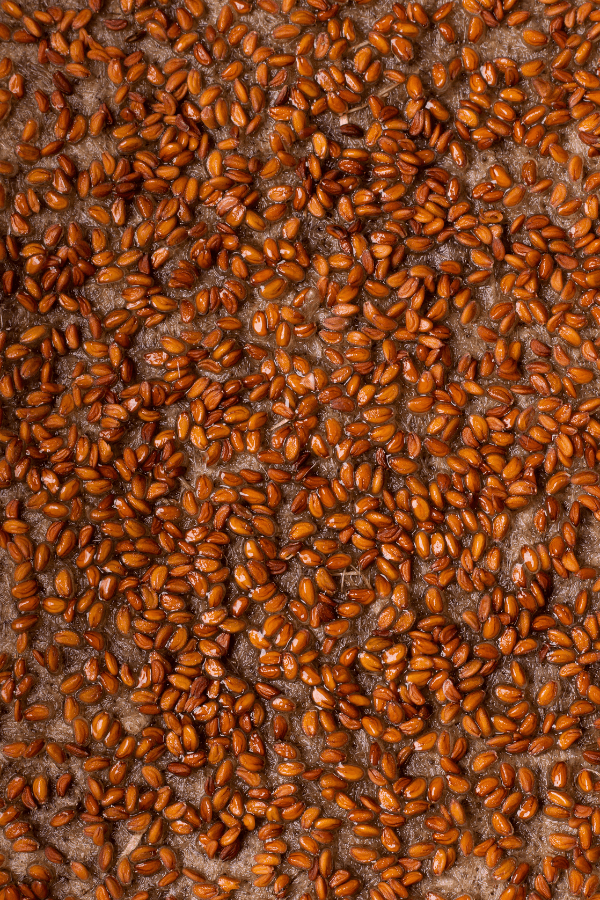
You can find microgreen seeds online or at your local garden center. Look for a variety of seeds so you can experiment with different flavors and textures.
Pots or trays
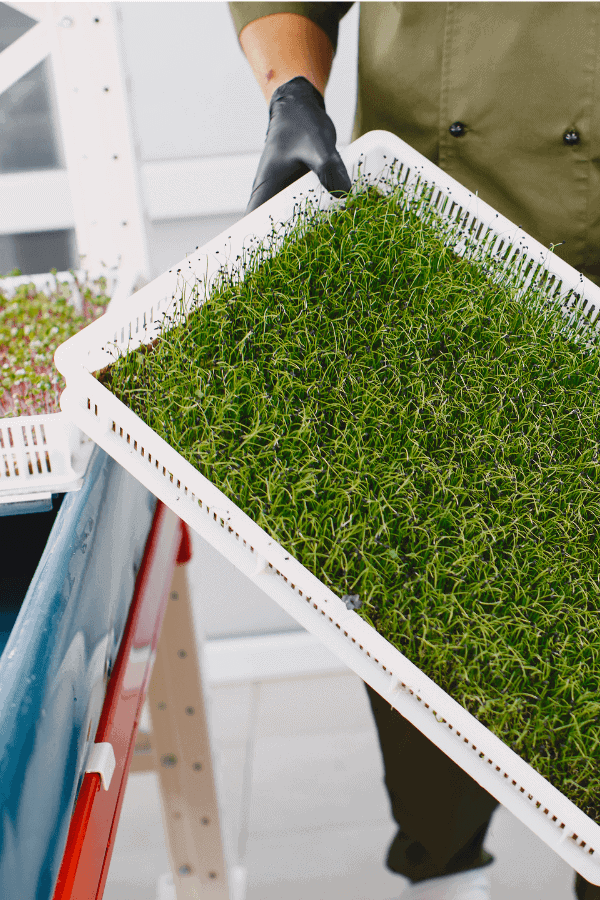
Choose pots or trays that have drainage holes in the bottom. This will help to prevent the roots from getting waterlogged.
Potting mix

A good potting mix will be light and airy, allowing the roots to breathe. Avoid using garden soil, as it may be too heavy or contain pests and diseases.
Water
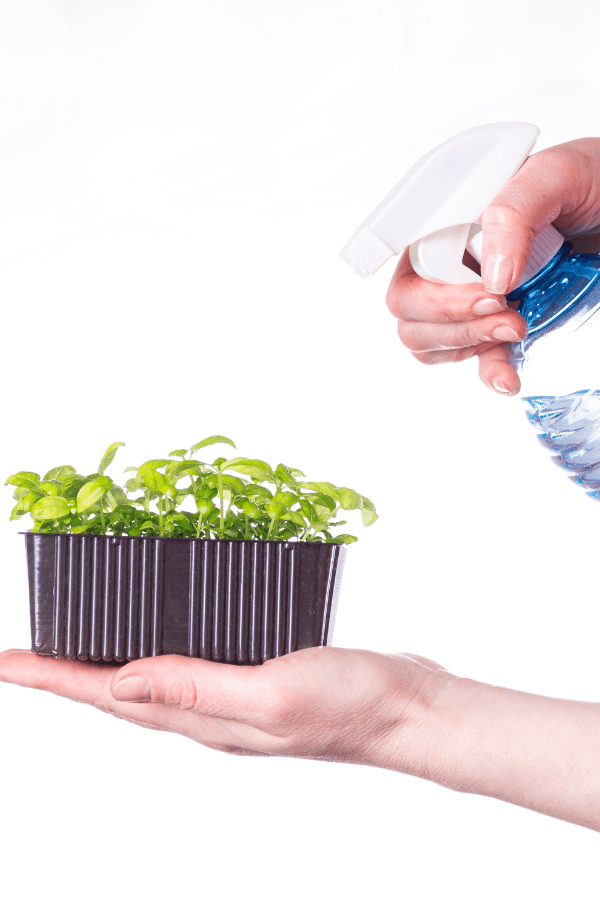
Be sure to use filtered or distilled water for your microgreens, as tap water may contain chemicals that can harm delicate seedlings.
Here are 8 simple tips on how to grow microgreens:
1. Choose the right location.
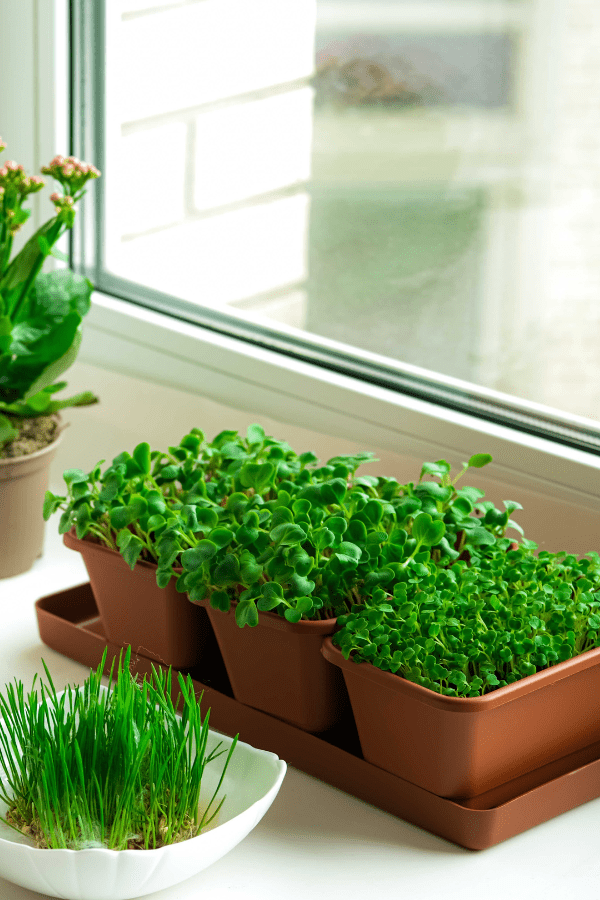
Microgreens need plenty of sunlight, so choose a spot in your home that gets at least 6 hours of sunlight per day. If you live in a colder climate, you can grow microgreens indoors under grow lights.
2. Prepare your soil
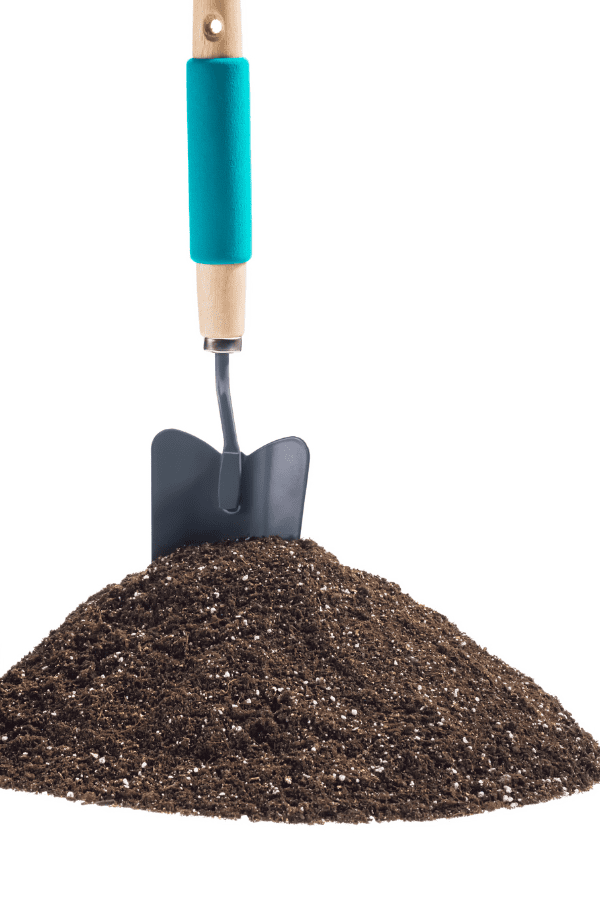
Microgreens need well-drained, nutrient-rich soil in order to thrive. You can either purchase a pre-made potting mix or make your own by mixing equal parts of perlite, vermiculite, and compost.
3. Sow the seeds

Once you have your location and soil prepared, it’s time to sow the seeds! First, wet the soil so it is evenly moistened. Then, sprinkle the seeds thinly and evenly over the surface of the soil. Gently press them into the soil with your fingers.
4. Keep the soil moist
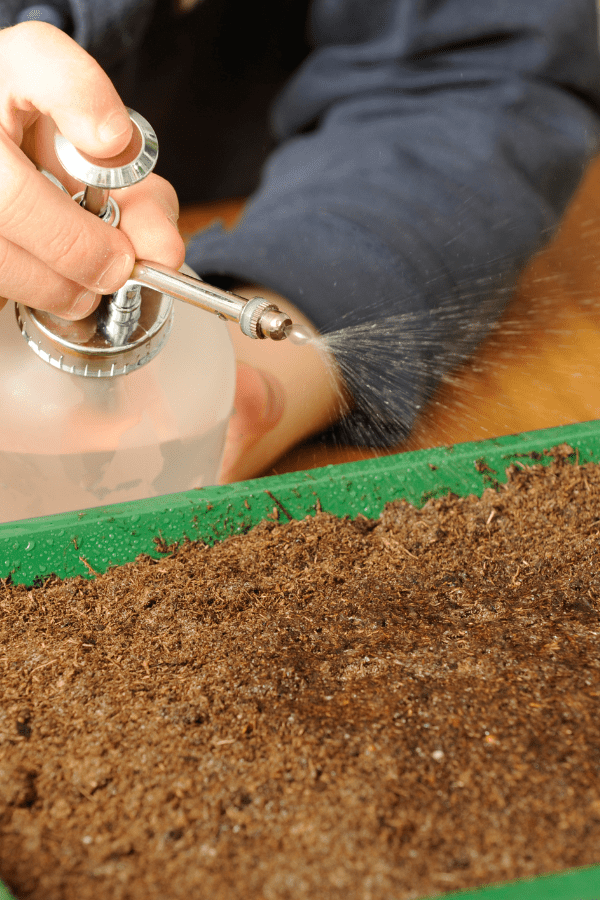
After planting, water the microgreens gently with a spray bottle so as not to disturb the seeds. Keep the soil moistened until the greens sprout.
5. Thin out the seedlings.
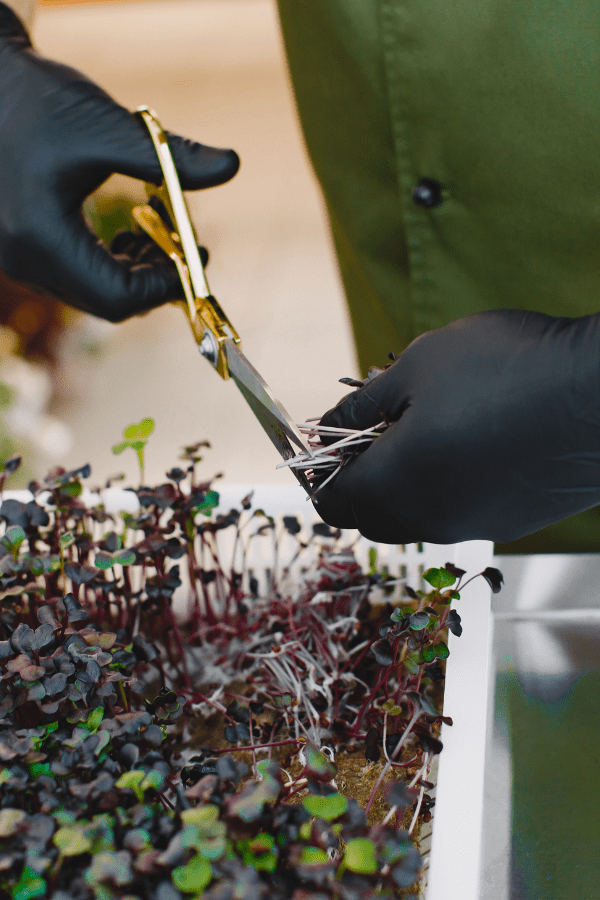
Once the microgreens have sprouted, thin out the seedlings so that only the strongest and healthiest plants remain.
6. Fertilize regularly

Microgreens will need to be fertilized every 2-3 weeks with a liquid fertilizer in order to continue growing strong and healthy.
7. Harvest when ready
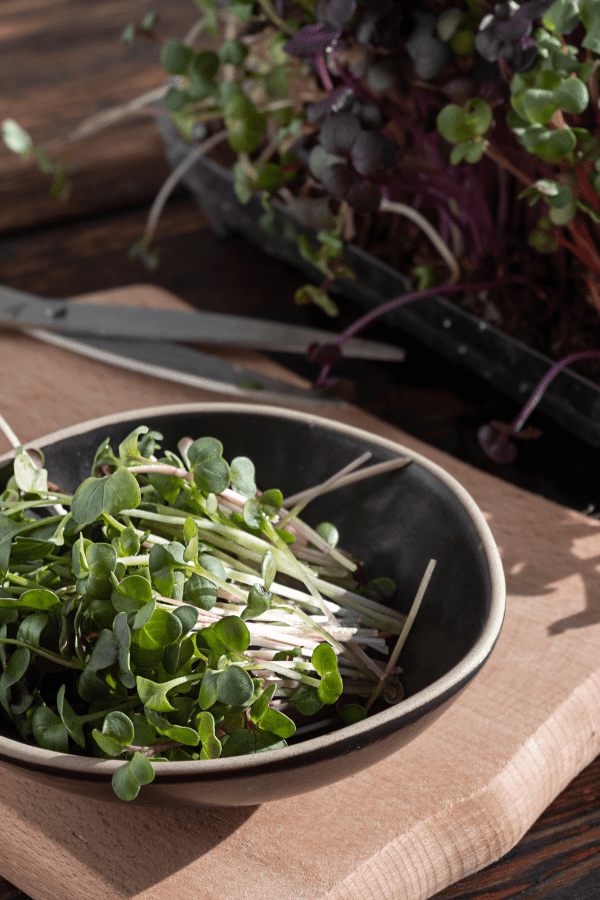
Most microgreens are ready to harvest within 2-3 weeks after planting. When harvesting, cut the greens at soil level using sharp scissors.
8. Enjoy your Fresh Microgreens!

Add your freshly harvested microgreens to salads, sandwiches, or soups for a nutrient-packed punch of flavor!
Mistakes to Avoid
While microgreens are relatively easy to grow, there are a few things to avoid if you want to have a successful crop. One of the most common mistakes is over-watering. Microgreens have shallow roots and can quickly become waterlogged if they are overwatered. Another mistake is using too much or too little light. Microgreens need about 6 hours of sunlight per day, so they should be placed in a sunny spot. However, they can also be damaged by too much light, so it’s important to find a balance. Lastly, be careful not to overcrowd your microgreen plants. They need enough space to grow and spread their roots. If they are too close together, they will compete for resources and your crop will suffer as a result. By avoiding these common mistakes, you can ensure a healthy and bountiful crop of microgreens.
Microgreens are a fun, easy, and healthy way to add flavor and nutrients to your healthy meal preps. They are perfect for beginning gardeners because they are low maintenance and don’t take up much space. By following these simple tips, you can be on your way to growing your own delicious microgreens!
📌 Follow Me On Pinterest!
📌 Pin To Save For Later!

Leave a Reply